ratanon.com - infrastructure

Docker PHP-FPM 8.x & Nginx 1.2x
สำหรับการติดตั้ง PHP-FPM 8.x และ Nginx 1.2x โดยใช้ Docker บน Ubuntu 22.04 x64, คุณสามารถทำตามขั้นตอนต่อไปนี้
ติดตั้ง Docker และ Docker Compose
apt install docker-compose
สร้างไฟล์ Docker Compose
ให้สร้างไฟล์ docker-compose.yml ในไดเร็กทอรีที่ต้องการใช้งาน
version: '3'

services:
  nginx:
    image: nginx:1.21
    container_name: nginx-container
    ports:
      - "80:80"
    volumes:
      - ./nginx.conf:/etc/nginx/nginx.conf
      - ./www:/var/www/html
    depends_on:
      - php
    restart: always

  php:
    image: php:8.1-fpm
    container_name: php-fpm-container
    volumes:
      - ./www:/var/www/html
    restart: always
สร้างไฟล์ Nginx Config
ให้สร้างไฟล์ nginx.conf ในโฟลเดอร์เดียวกันกับ docker-compose.yml
worker_processes 1;

events {
    worker_connections 1024;
}

http {
    sendfile on;
    tcp_nopush on;
    tcp_nodelay on;
    keepalive_timeout 65;
    types_hash_max_size 2048;

    include /etc/nginx/mime.types;
    default_type application/octet-stream;

    server {
        listen 80;
        server_name localhost;
        client_max_body_size 100M;

        root /var/www/html;
        index index.php index.html index.htm;

        location / {
            try_files $uri $uri/ =404;
        }

        location /api/ {
            try_files $uri $uri/ /api/index.php?$query_string;
        }

        location ~ \.php$ {
            try_files $uri =404;
            fastcgi_split_path_info ^(.+\.php)(/.+)$;
            fastcgi_pass php:9000;
            fastcgi_index index.php;
            include fastcgi_params;
            fastcgi_param SCRIPT_FILENAME $document_root$fastcgi_script_name;
            fastcgi_param PATH_INFO $fastcgi_path_info;
        }

        error_page 404 /404.html;
        error_page 500 502 503 504 /50x.html;
        location = /50x.html {
            root /usr/share/nginx/html;
        }
    }
}
สร้างโฟลเดอร์สำหรับเว็บไซต์
ให้สร้างโฟลเดอร์ www ในโฟลเดอร์เดียวกันกับ docker-compose.yml และเพิ่มไฟล์ index.php ลงในโฟลเดอร์ www
<?php
phpinfo();
?>
chmod permissions ไฟล์ที่เราแก้ไขไปด้วย
chmod -R 755 /home/web/www
สั่งให้ Docker Compose สร้างและเริ่ม Container
ให้ใช้คำสั่ง docker-compose up -d ในโฟลเดอร์ที่มีไฟล์ docker-compose.yml
docker-compose up -d
หรือ
docker-compose down
docker-compose up -d
ลองรันดูถ้าขึ้น phpinfo เป็นอันใช้ได้
คำสั่งเพิ่มเติม
Restart Docker
systemctl restart docker
วิธีตรวจสอบ ตรวจสอบ directory structure ภายใน nginx-container
docker exec -it nginx-container /bin/sh
cd /var/www/html
ls
ทดสอบ API ด้วย Code PHP
<?php
error_reporting(E_ALL & ~E_DEPRECATED);
date_default_timezone_set('Asia/Bangkok');
header('Content-Type: application/json');
header('Access-Control-Allow-Origin: *');
header('Access-Control-Allow-Methods: GET, POST, PUT, DELETE, OPTIONS');
header('Access-Control-Allow-Headers: Access-Control-Allow-Headers, Content-Type, Access-Control-Allow-Methods, Authorization, X-Requested-With');


$data = json_decode(file_get_contents('php://input'), true);


if (!empty($data)) {
    // get the current time with microsecond precision
    $time = microtime(true);
    // format the time as "day-month-year-hour-minute-second-microsecond"
    $timestamp = date('d-m-Y-H-i-s-', $time) . number_format(($time - floor($time)) * 1000000, 0, '', '');


    echo json_encode([
        'message' => 'Data saved successfully.',
        'timestamp' => $timestamp,
        'response_code' => 200
    ]);
} else {
    http_response_code(400);
    echo json_encode([
        'message' => 'No data received.',
        'response_code' => 400
    ]);
}
?>
ลองใช้ postman ยิงแล้วเทียบ log ใน docker-compose logs ถ้าตอบ 200 เป็นอันผ่าน
docker-compose logs
จะมีส่วนของโฟลเดอร์ log เพิ่มเติม ในส่วนขารับ เพื่อเขียนไฟล์ที่ถูกส่งมา..

Logs Posman ตอบ 200
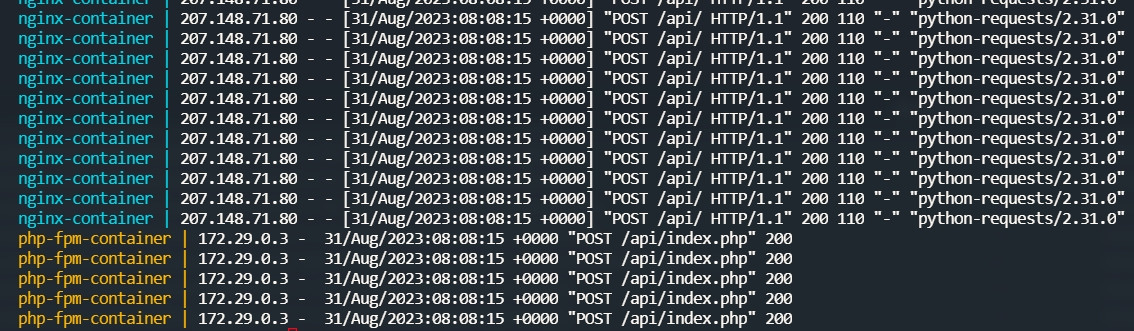
docker-compose logs
สคิป python สำหรับยิง json ทดสอบ
import requests
import time
import random
import json
url = "http://45.77.174.179/api/"
def generate_random_data():
# Generate random data for each request
return {
"value": random.randint(1, 100),
"timestamp": time.time()
}
def send_request():
headers = {
'Content-Type': 'application/json',
}
data = json.dumps(generate_random_data())
response = requests.post(url, headers=headers, data=data)
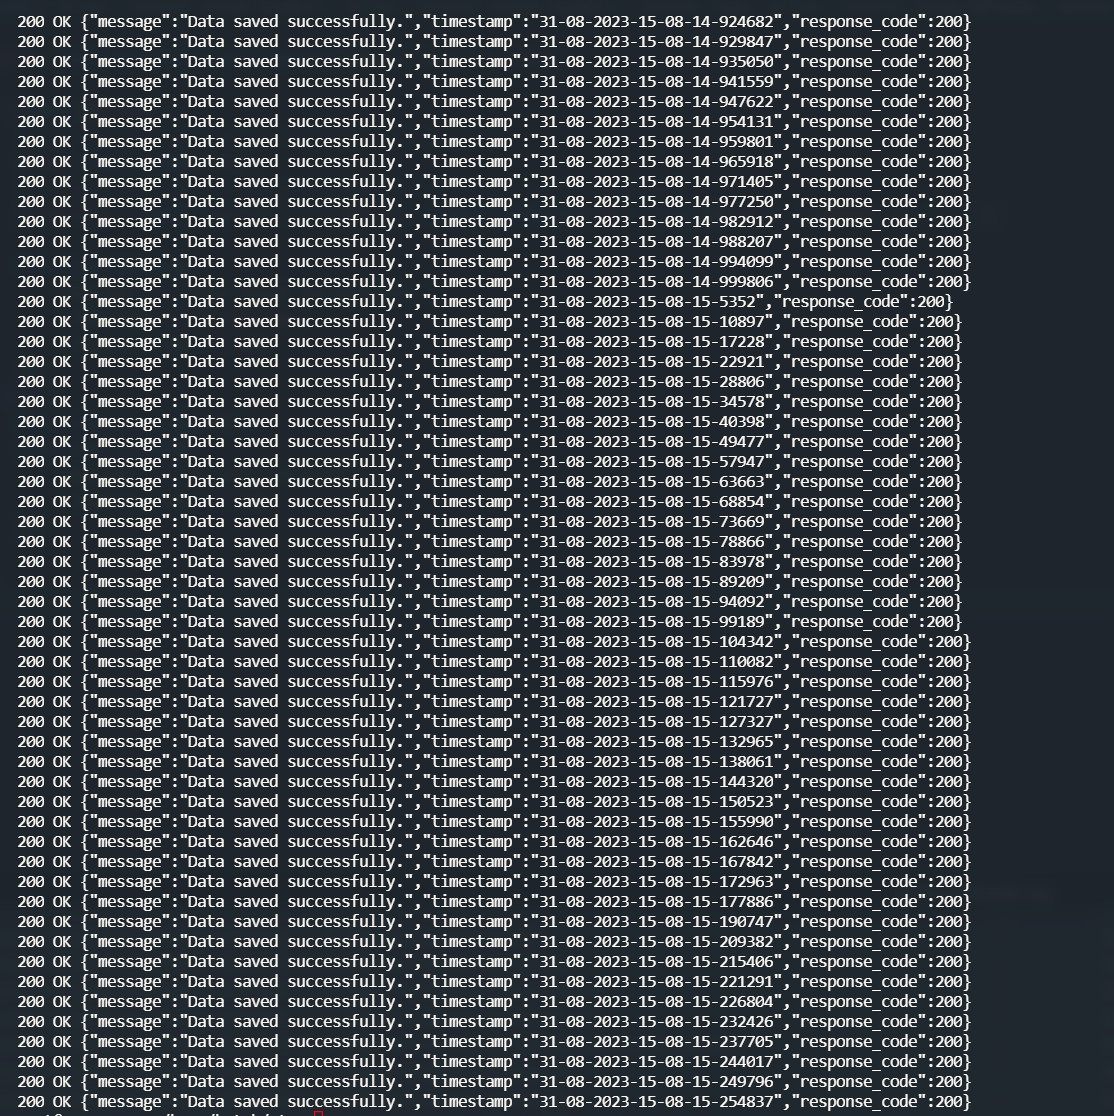
print(response.status_code, response.reason, response.text)
def main():
requests_per_second = 200 # Adjust as needed
duration = 120 # seconds, adjust as needed
start_time = time.time()
while time.time() - start_time < duration:
send_request()
time.sleep(1 / requests_per_second)
if __name__ == "__main__":
main()
ทดสอบการยิงไปที่ 200 ครั้งใน 1 วินาที
และกำหนดระยะเวลายิงที่ 120 วินาที
ลองรันจะได้ตามรูป